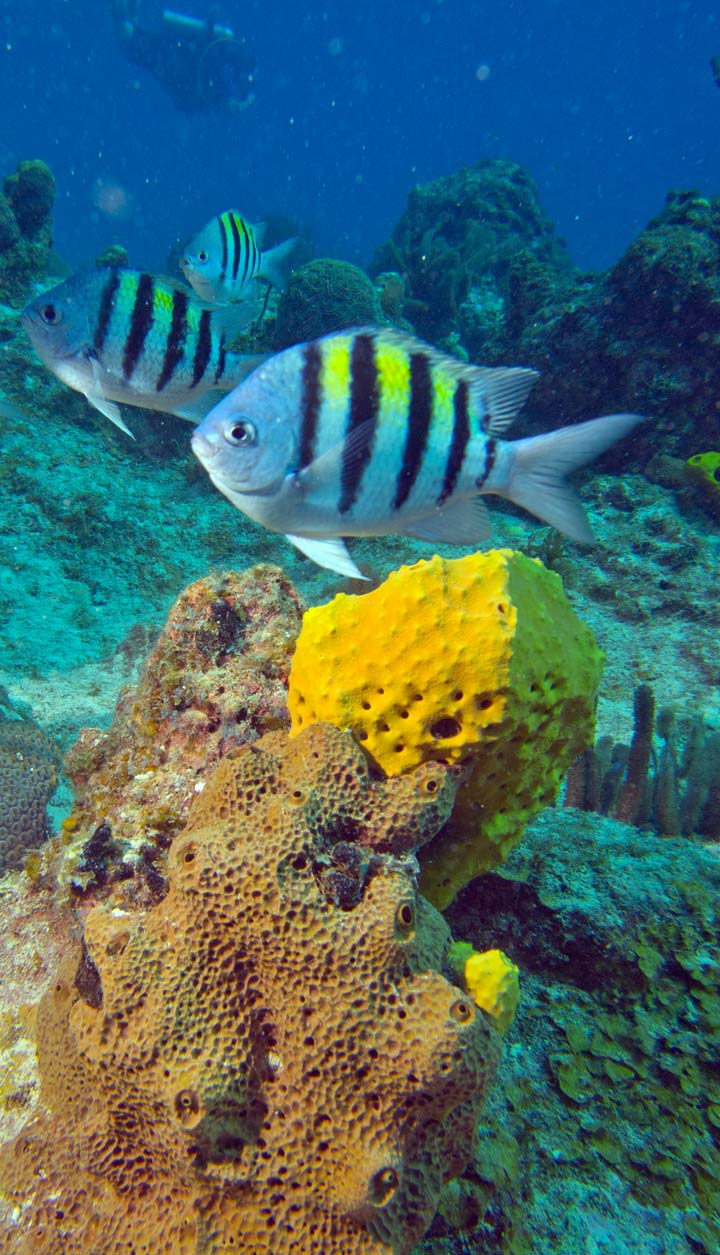
 Sergeant Major Fish
1/500 sec; f/8; 14mm
Notice the green colour on the right side of the coral not illuminated by the strobe
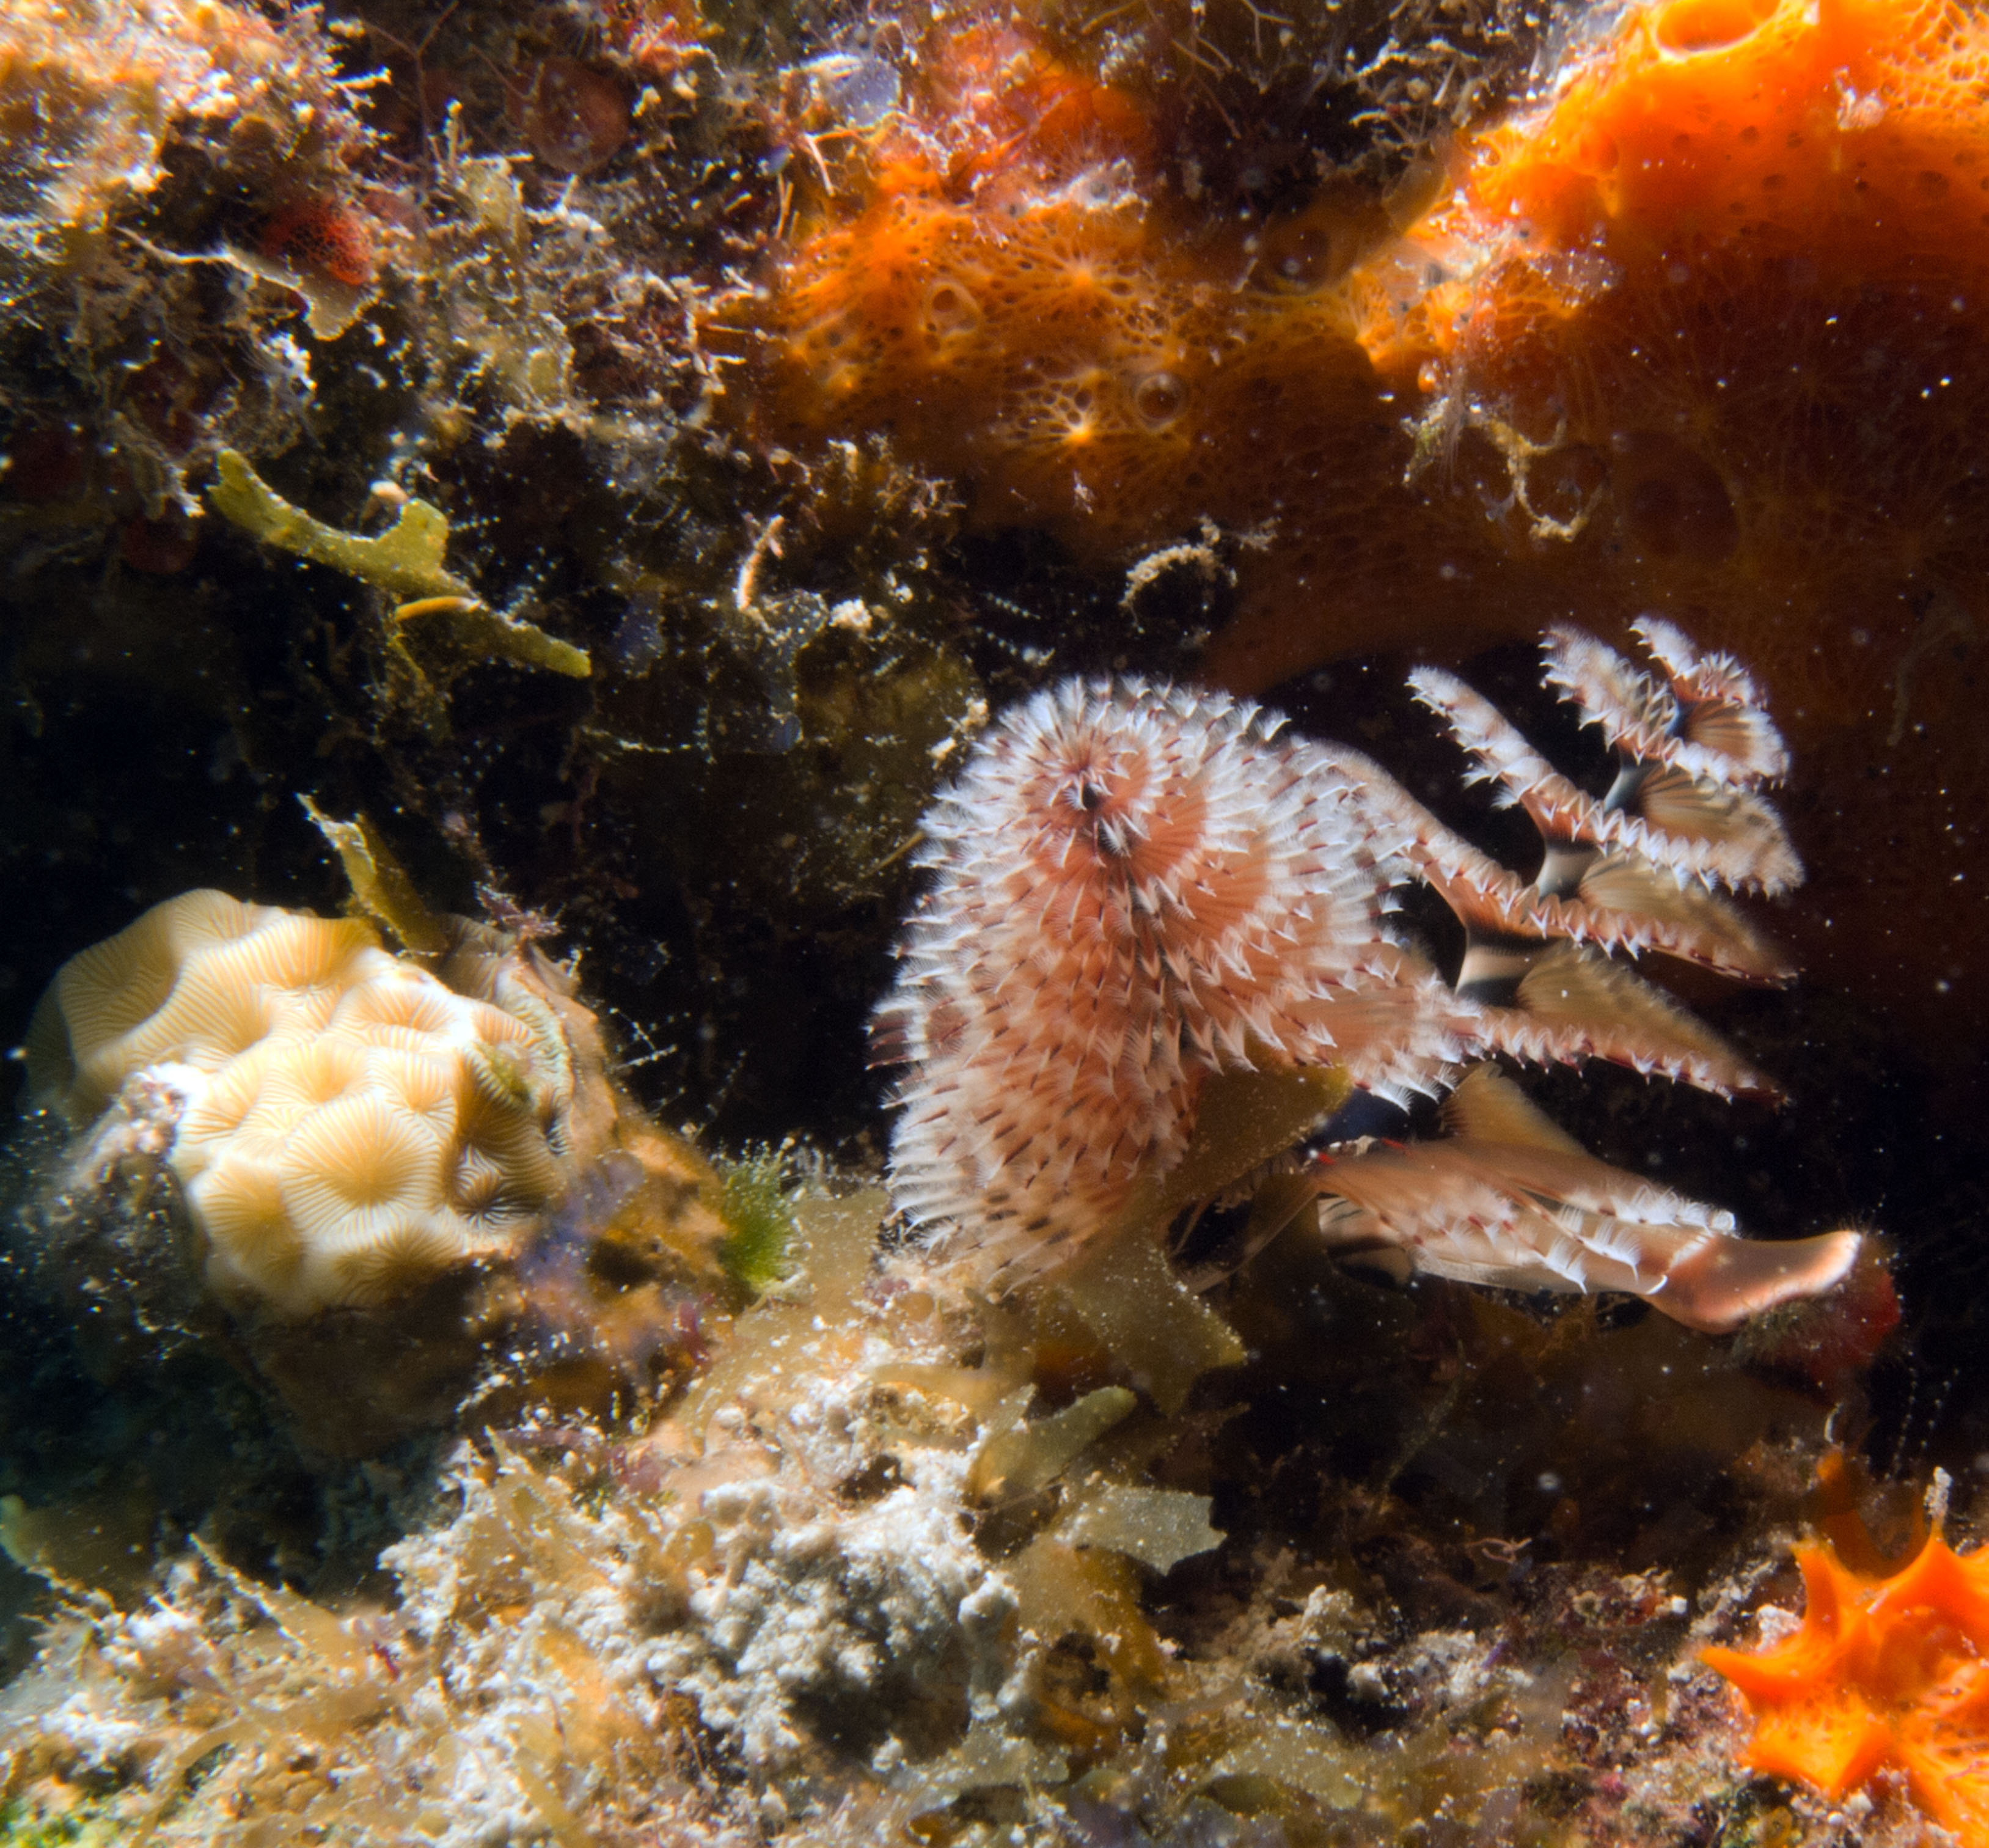
 Christmas Tree Worm
1/500 sec; f/22; 42mm
This worm recoils back into it's hiding spot if approached at unbelievable speed. They are only about 2 inches tall.
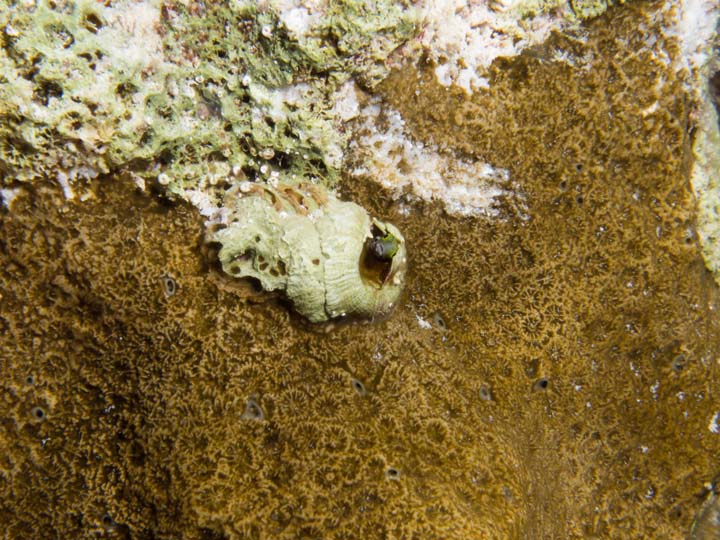
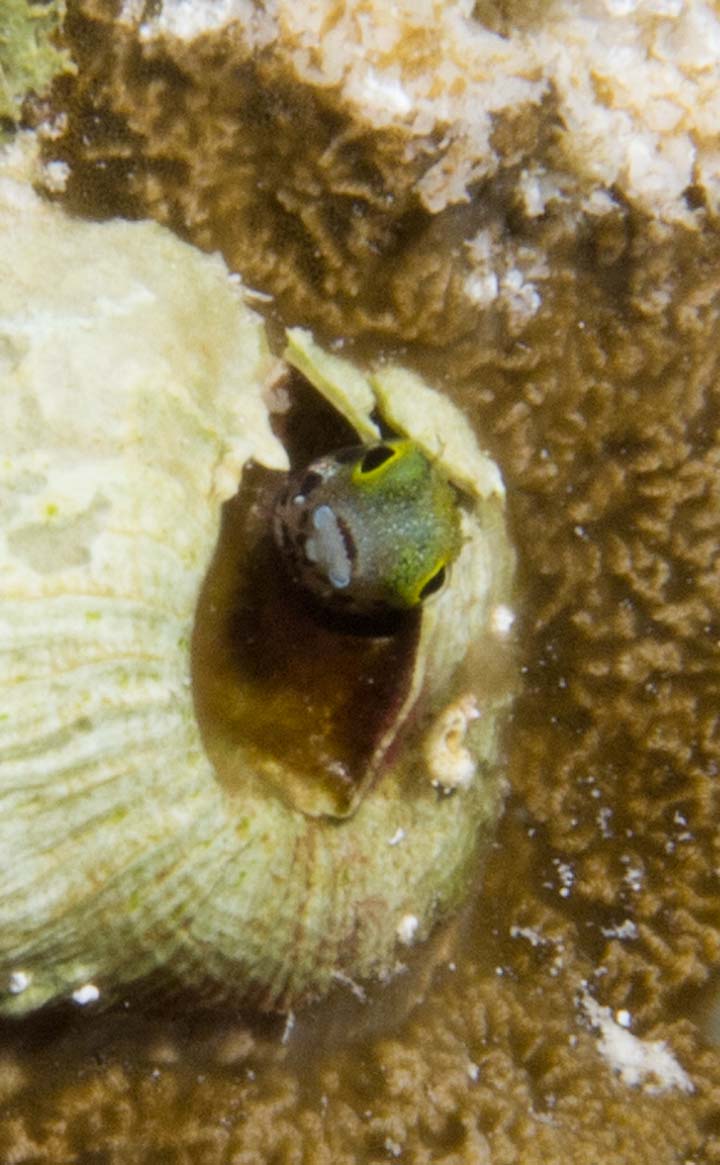 Either a Goby or Bleeny Fish (I'm not sure)
1/500 sec; f/22; 42mm
This little guy was living in a shell attached to a large brain coral.
I never saw him until Cathy pointed him out in the picture..
His head appeared to only the width of two pin heads.
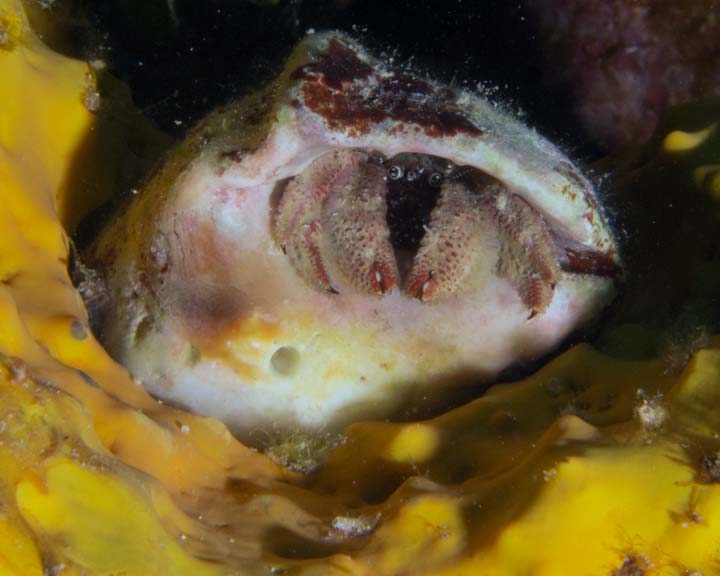 Hermit Crab (not sure which variety)
1/500 sec; f/22; 34mm
Cathy found this guy (and returned him) somewhere on the sea floor.
As soon as you touched his shell, he retreated inside. but then
cautiously came out. Those are his eyes in between front claws.
Unfortunately, I had to be quick to snap the picture before be pulled it over on top of himself when he started to walk away.
Taking this picture is when I also learned you can yell through you air regular when I heard a muffled 'shoot' from Cathy.
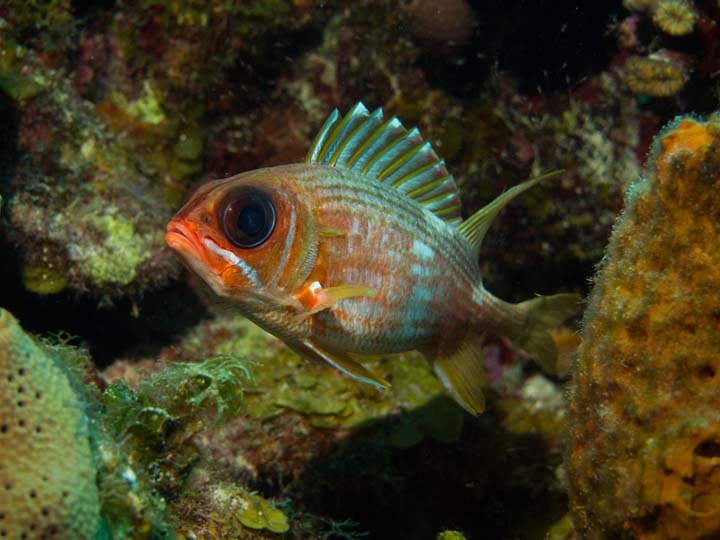 Squirrel Fish
1/500 sec; f/5.6 ; 42mm
Only cooperative subject.
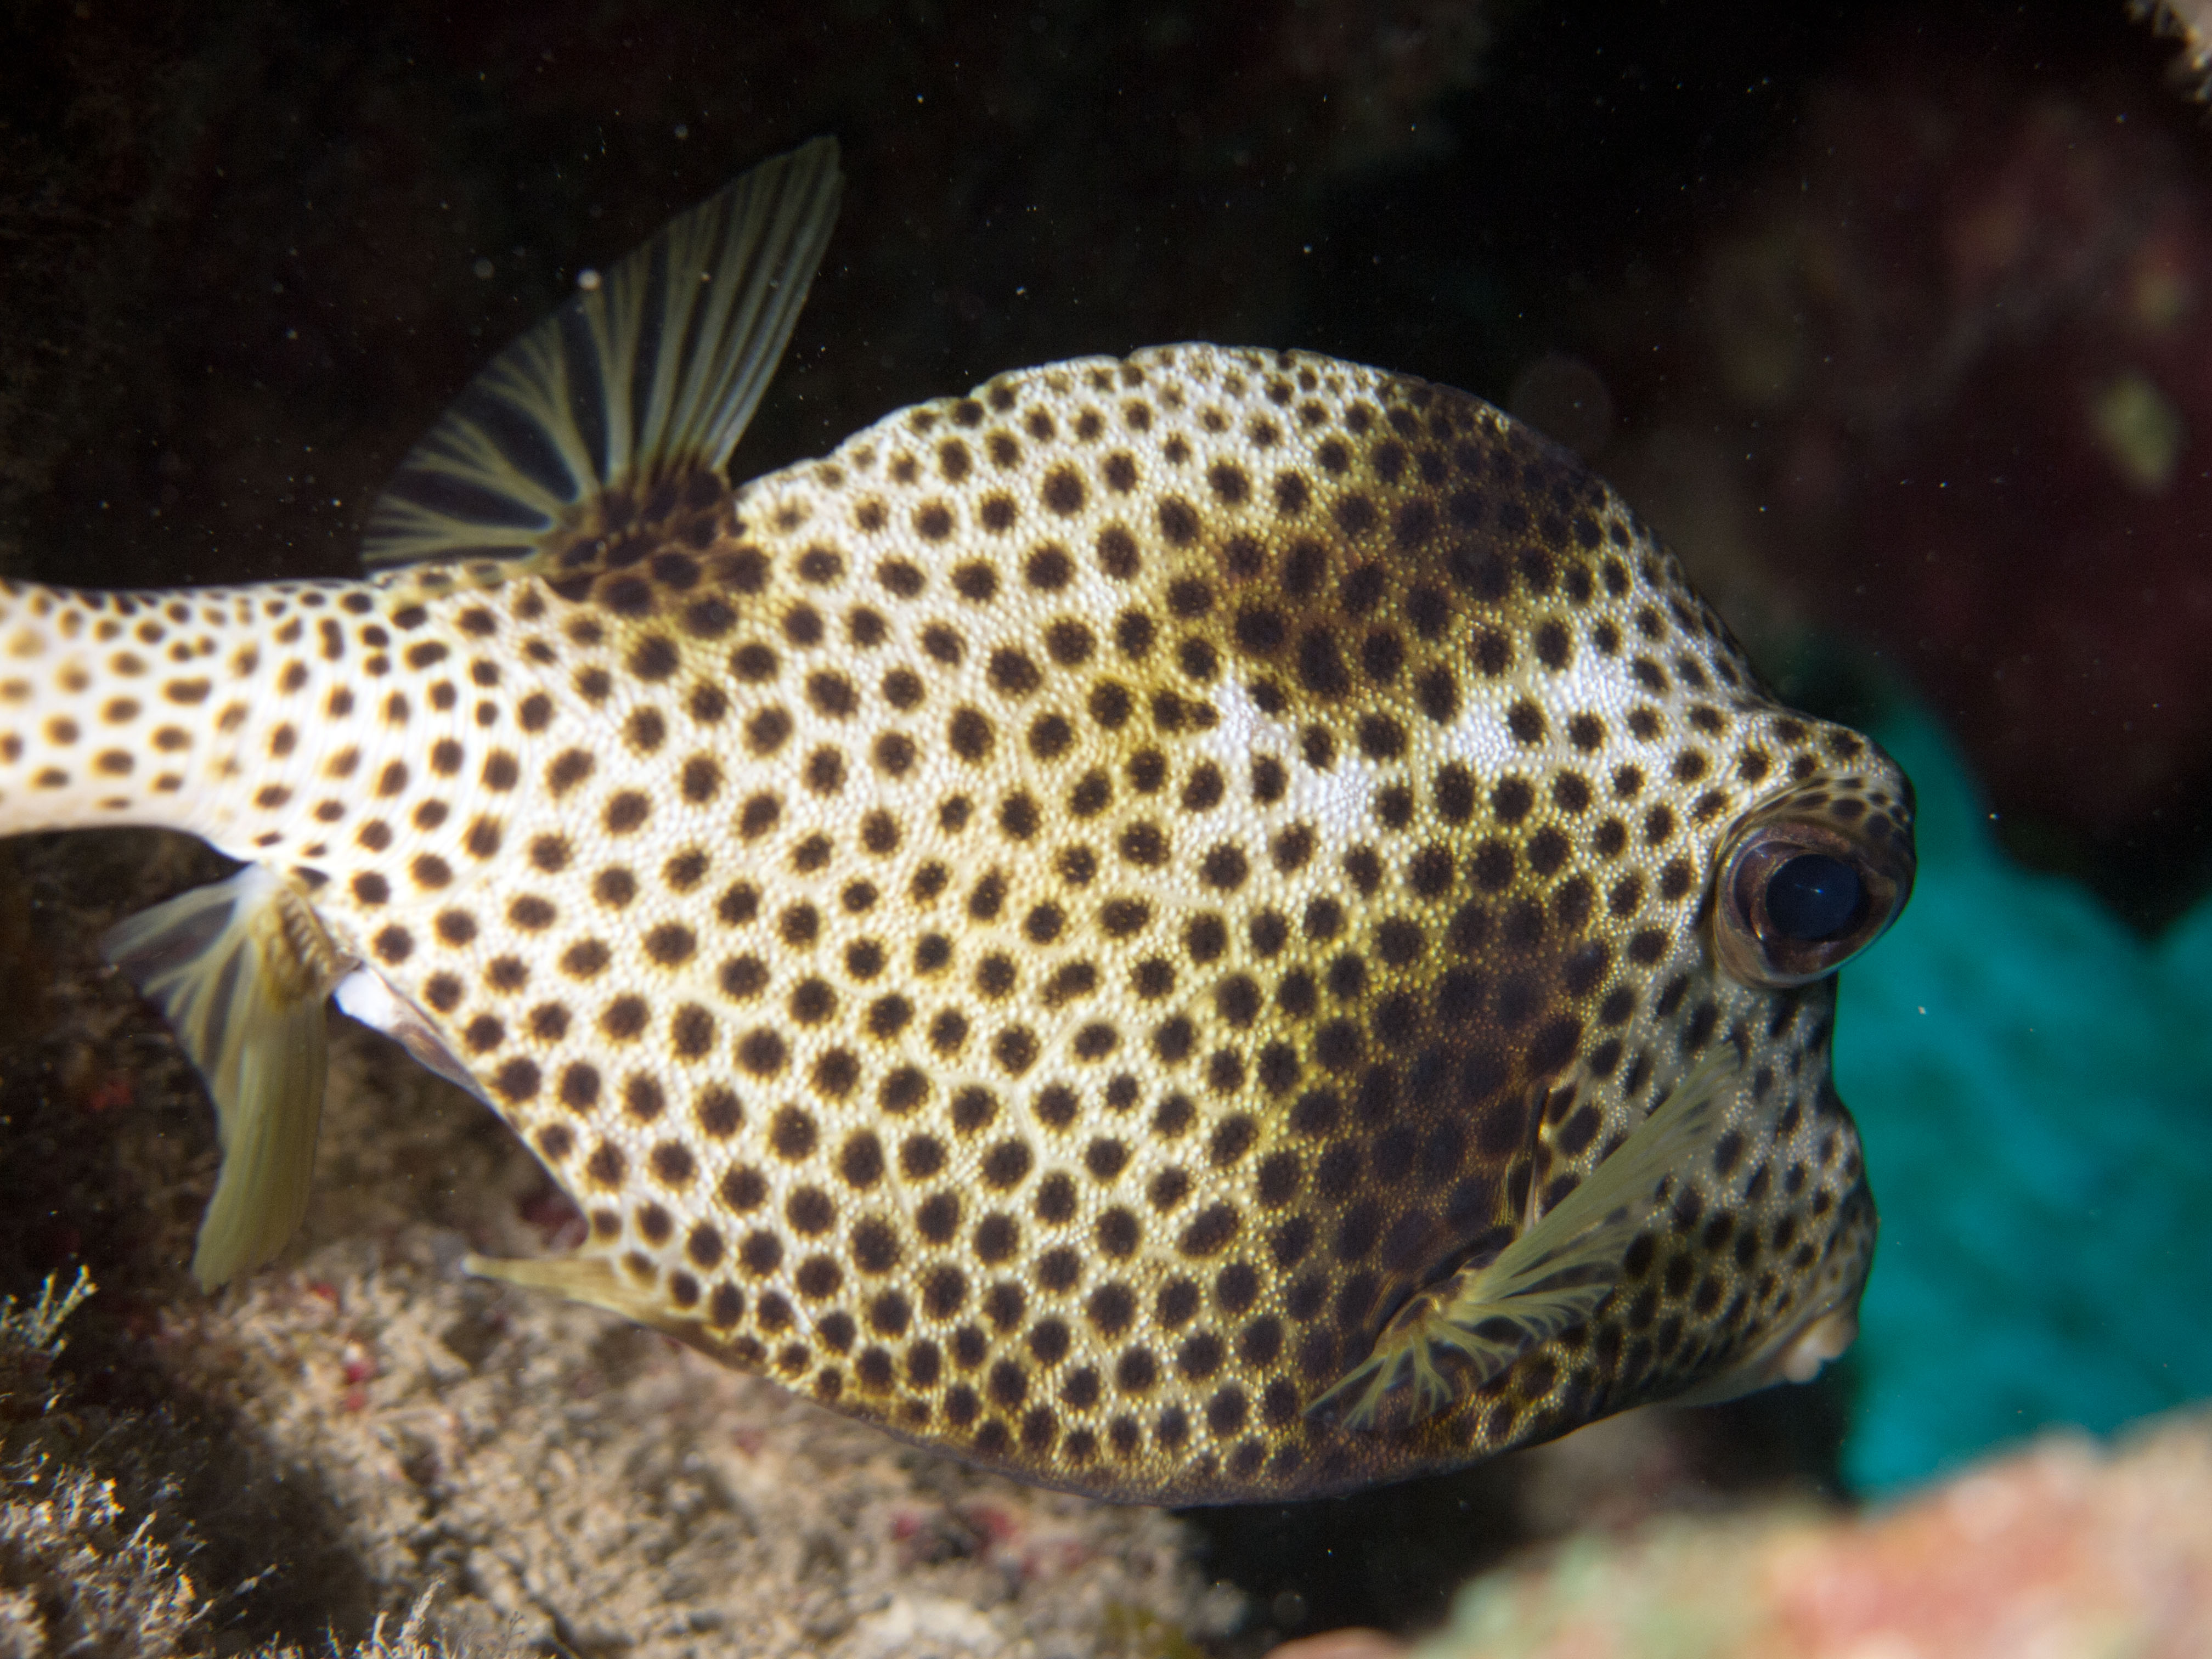
 Spotted Trunk Fish
1/500 sec; f/5.6 ; 42mm
Cathy and I played hide and seek with this guy in a piece of coral. I
took all sorts of pictures but this is the only one that captures most
of him.
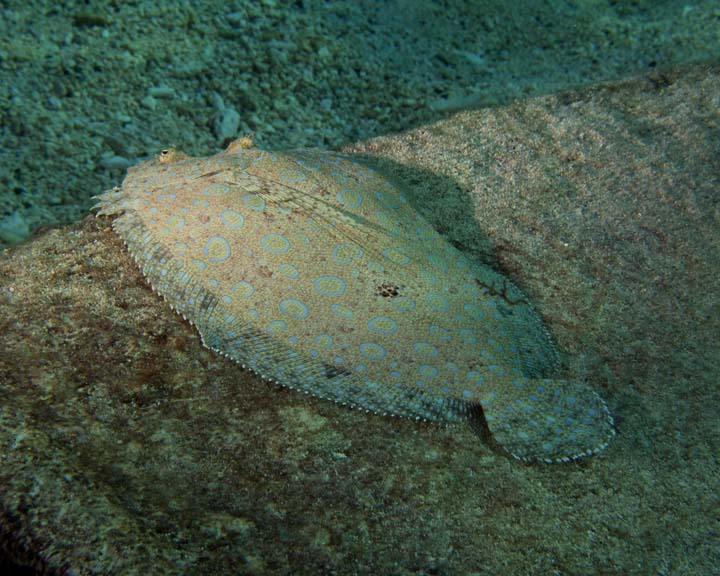 Peacock Flounder
1/800; f/8 21mm
This guy was about 15 feet from the dock in about 12 feet of water.
You can see the effect of the strobe that is catching only his front half.
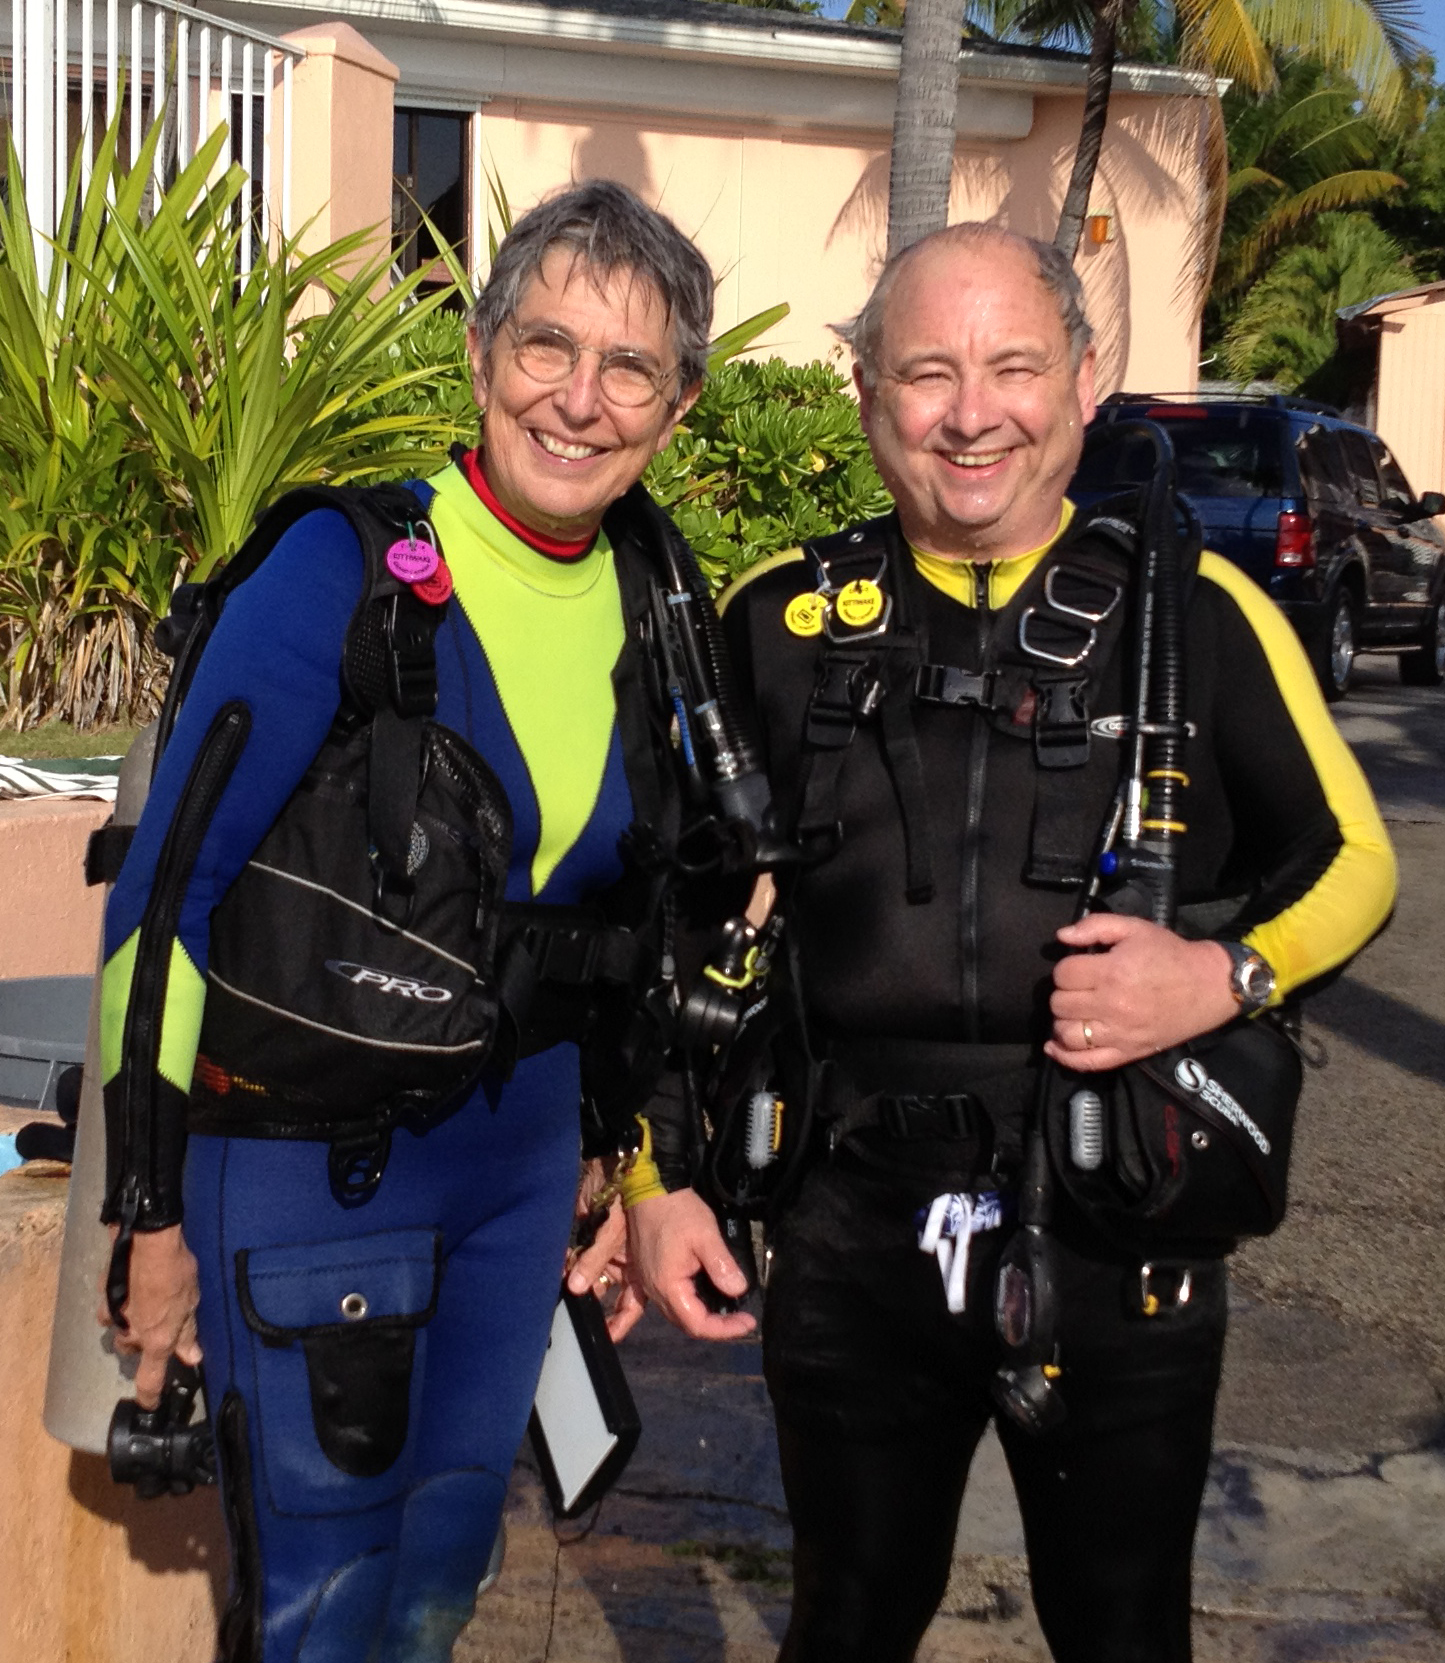
 On Brenda's and my trip to Grand Cayman in March 2012 I took the
opportunity to book a personal underwater photography lesson from Cathy Church.
Cathy is a world renowned biologist and photographer. The lesson
included classroom time as well as practical guided photography on the
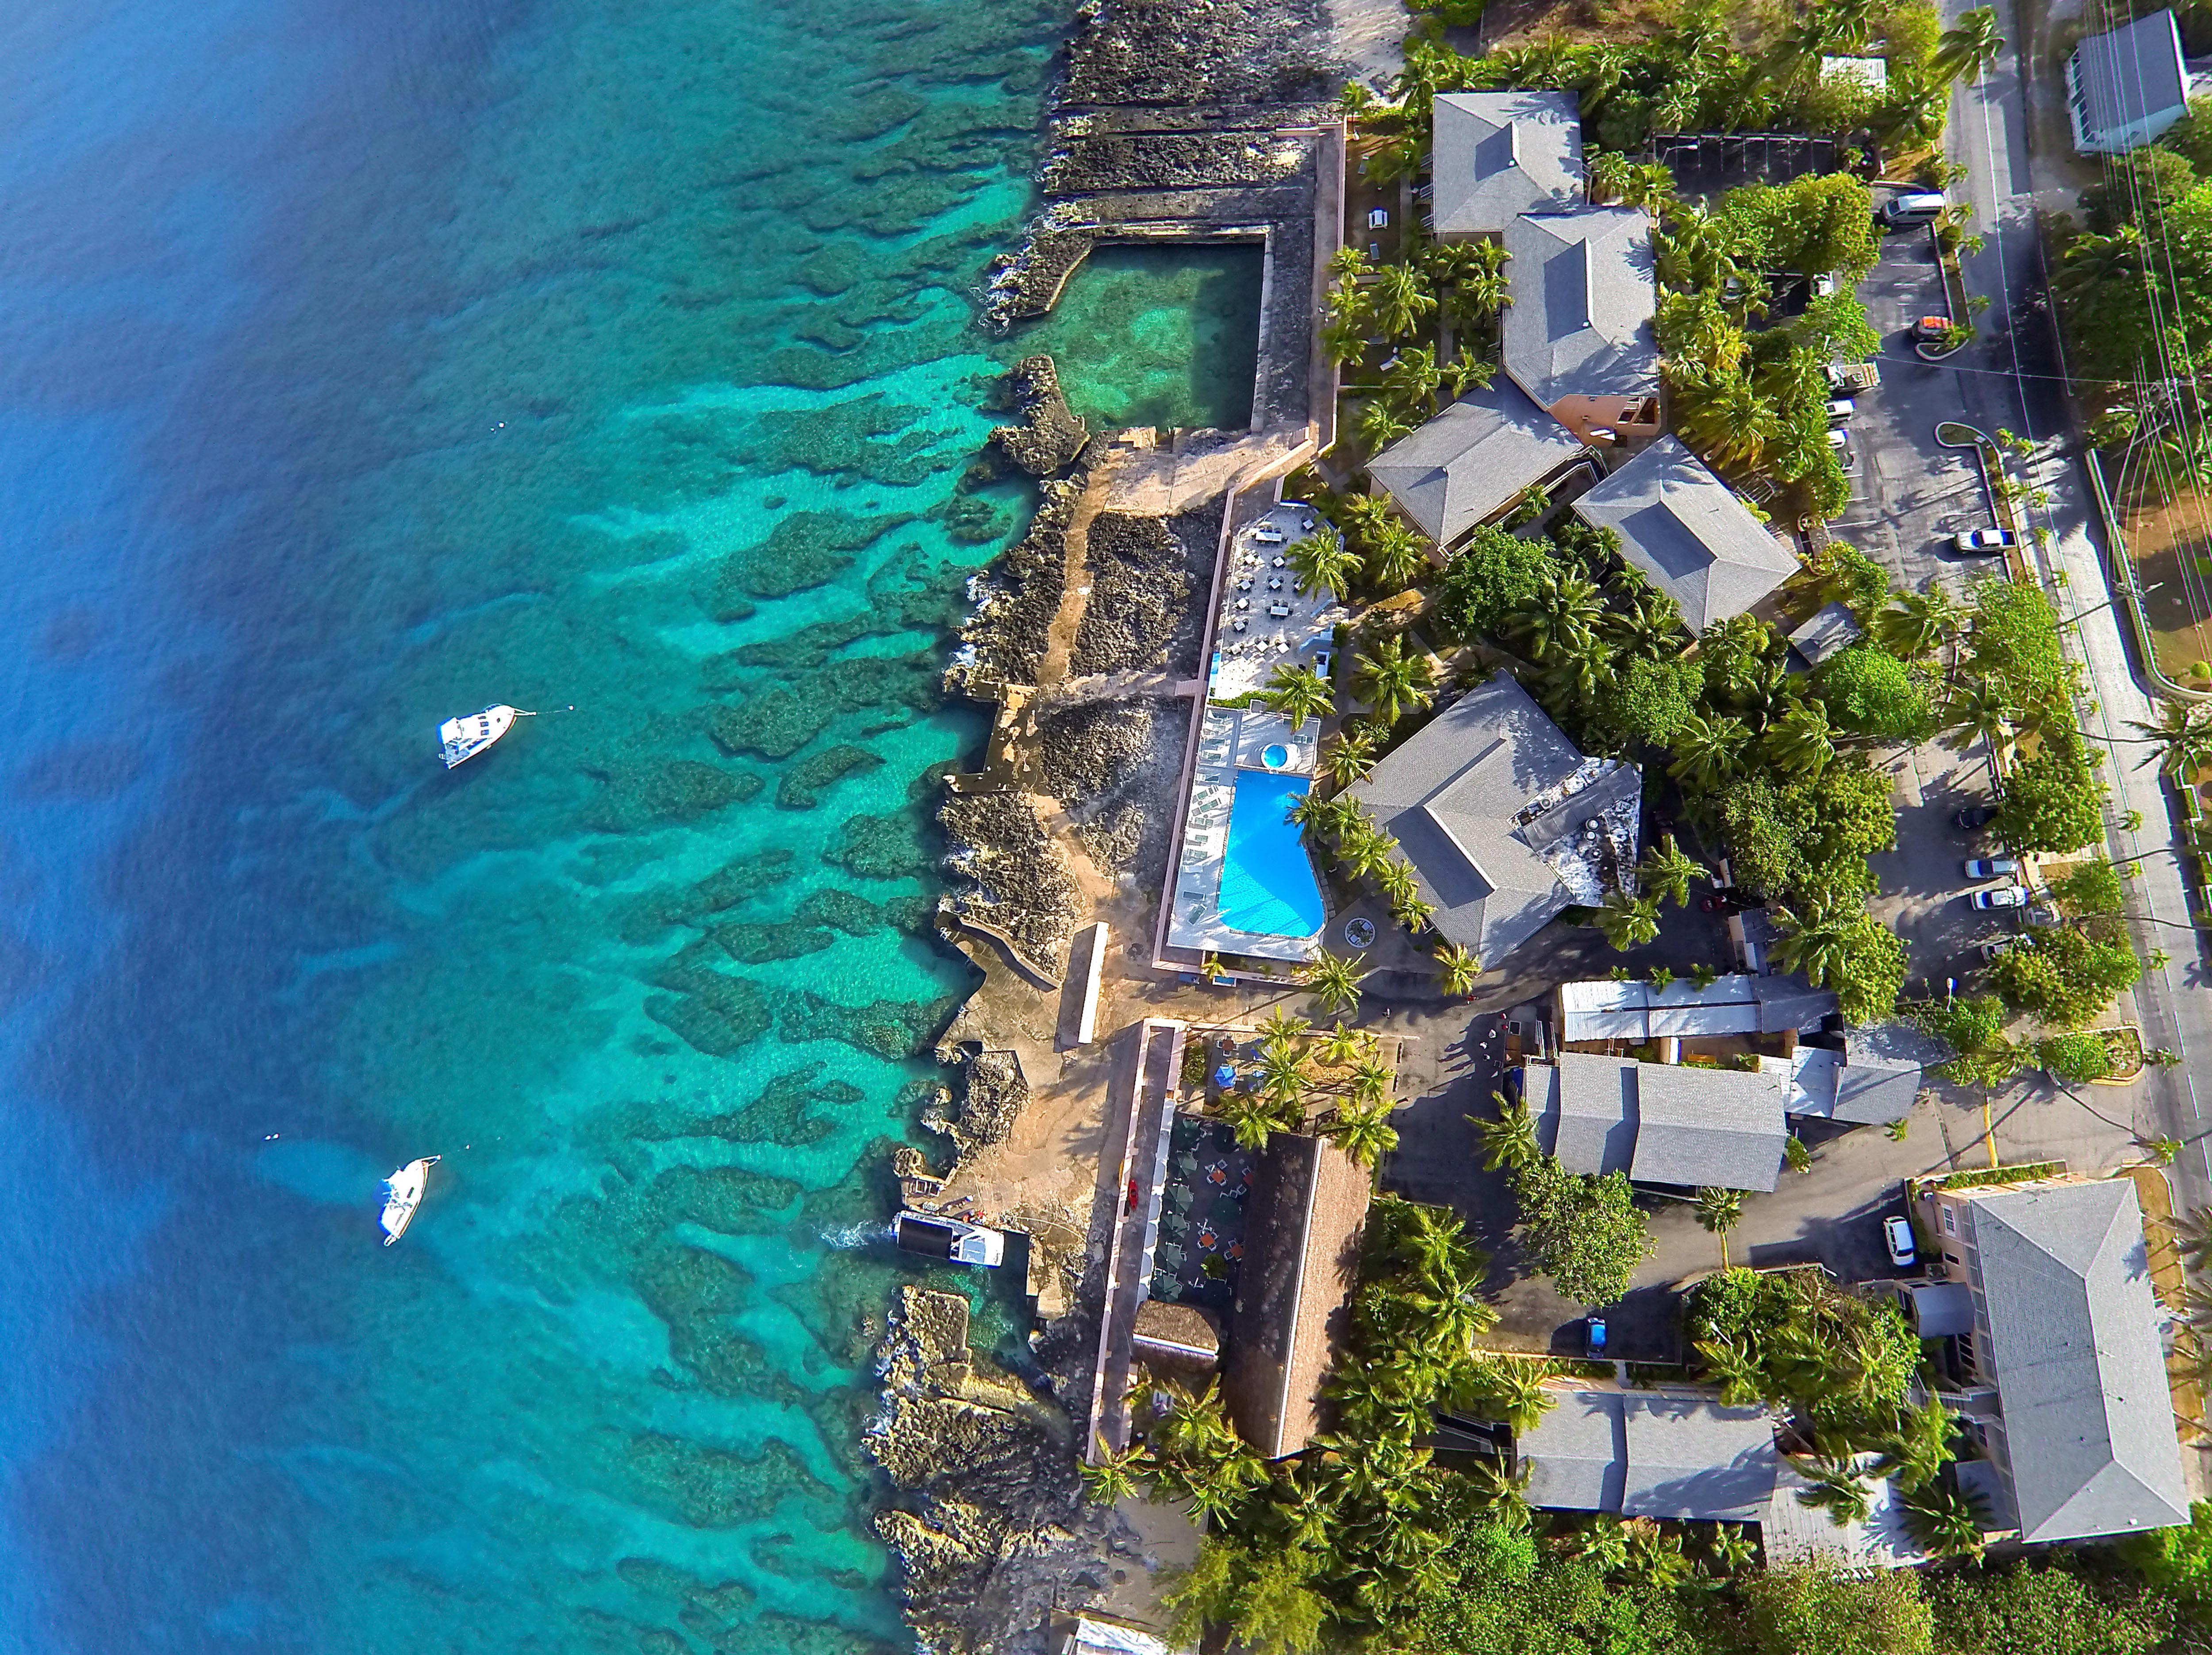
reefs just off Sunset House where she is based. Here is a picture of her
and I after our shore dive (thanks to Ron Bogart for taking this).
On Brenda's and my trip to Grand Cayman in March 2012 I took the
opportunity to book a personal underwater photography lesson from Cathy Church.
Cathy is a world renowned biologist and photographer. The lesson
included classroom time as well as practical guided photography on the
reefs just off Sunset House where she is based. Here is a picture of her
and I after our shore dive (thanks to Ron Bogart for taking this).  If you have snorkeled in the ocean you would have experience the loss of part of the spectrum when
everything seems to have a greenish/blue shift. For example, you loose
all reds at roughly 15 feet. This means as spectacular the sites may be
while diving, we are loosing out on the visual experience. This means
that to take proper pictures, you need to illuminate your subject
yourself. As I joked with Cathy, it's really an example of the old joke
"Did you enjoy your vacation? I don't know ; the pictures have not come
back yet". Fortunately today with modern digital cameras, you can
instantly review your pictures.
If you have snorkeled in the ocean you would have experience the loss of part of the spectrum when
everything seems to have a greenish/blue shift. For example, you loose
all reds at roughly 15 feet. This means as spectacular the sites may be
while diving, we are loosing out on the visual experience. This means
that to take proper pictures, you need to illuminate your subject
yourself. As I joked with Cathy, it's really an example of the old joke
"Did you enjoy your vacation? I don't know ; the pictures have not come
back yet". Fortunately today with modern digital cameras, you can
instantly review your pictures.
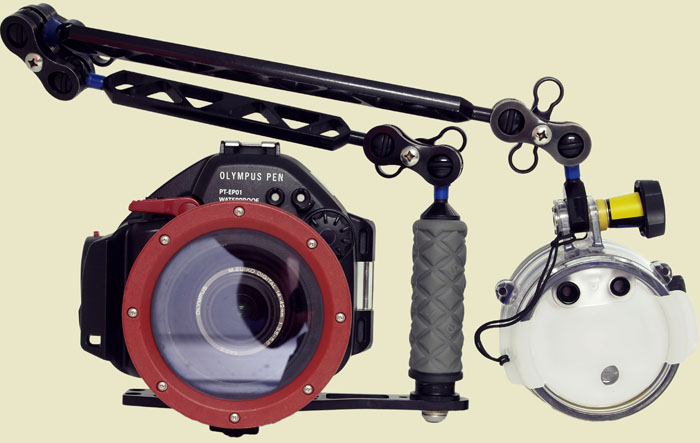 I own an Intova IC600 Camera with housing and a Pixtreme Slave Flash I use for underwater photography but wanted to try a more advanced setup for the lesson. I rented an Olympus E-PL2 with housing and strobe (see picture right). Very nice setup.